Hearing Test
8 min read

How a Home Visit Hearing Test Works. A Step-by-Step Guide

February 2, 2026
Thinking about a hearing test at home? Learn exactly how a home visit hearing test works, what happens at each step, and when to book one in the UK.
Written by
Rizwan Makda
Published on
February 2, 2026

Booking a hearing test is often something people delay  not because they don’t care about their hearing, but because clinic appointments can feel inconvenient, stressful, or unnecessary at first.

That’s why home visit hearing tests have become one of the most requested hearing care services in the UK. They remove the need to travel, reduce anxiety, and allow assessments to take place in a calm, familiar environment.

But many people still ask the same questions before booking:

  • What actually happens during a hearing test at home?
  • Is it as accurate as a clinic test?
  • How long does it take?
  • Will I be pressured into hearing aids?

This guide explains exactly how a home visit hearing test works, step by step  from the moment you book to what happens after the results. It’s designed to give you clarity, reassurance, and confidence before making a decision.

Why More People Are Choosing Hearing Tests at Home

A home visit hearing test is not a shortcut or a “lighter” version of a clinic assessment. It is a full professional hearing test, carried out using portable clinical-grade equipment.

People choose home hearing tests because they offer:

  • Comfort and privacy
  • No travel or waiting rooms
  • Longer, unhurried appointments
  • Reduced anxiety
  • Easier access for elderly or mobility-limited patients

For many, being tested at home leads to a more relaxed and accurate assessment  because you’re not rushed or distracted.

Step 1: Booking the Home Visit Hearing Test

Hand-sketched, black-and-white illustration on lined notebook paper showing how to book a home hearing test: a smartphone with an ear icon labeled “Call to Book,” an arrow pointing to a desk calendar with a checkmark labeled “Set the Date,” plus small doodles of a clock, magnifying glass, open notebook with pen, and hearing aids. Horizontal 16:9 layout in a simple research-notebook drawing style.

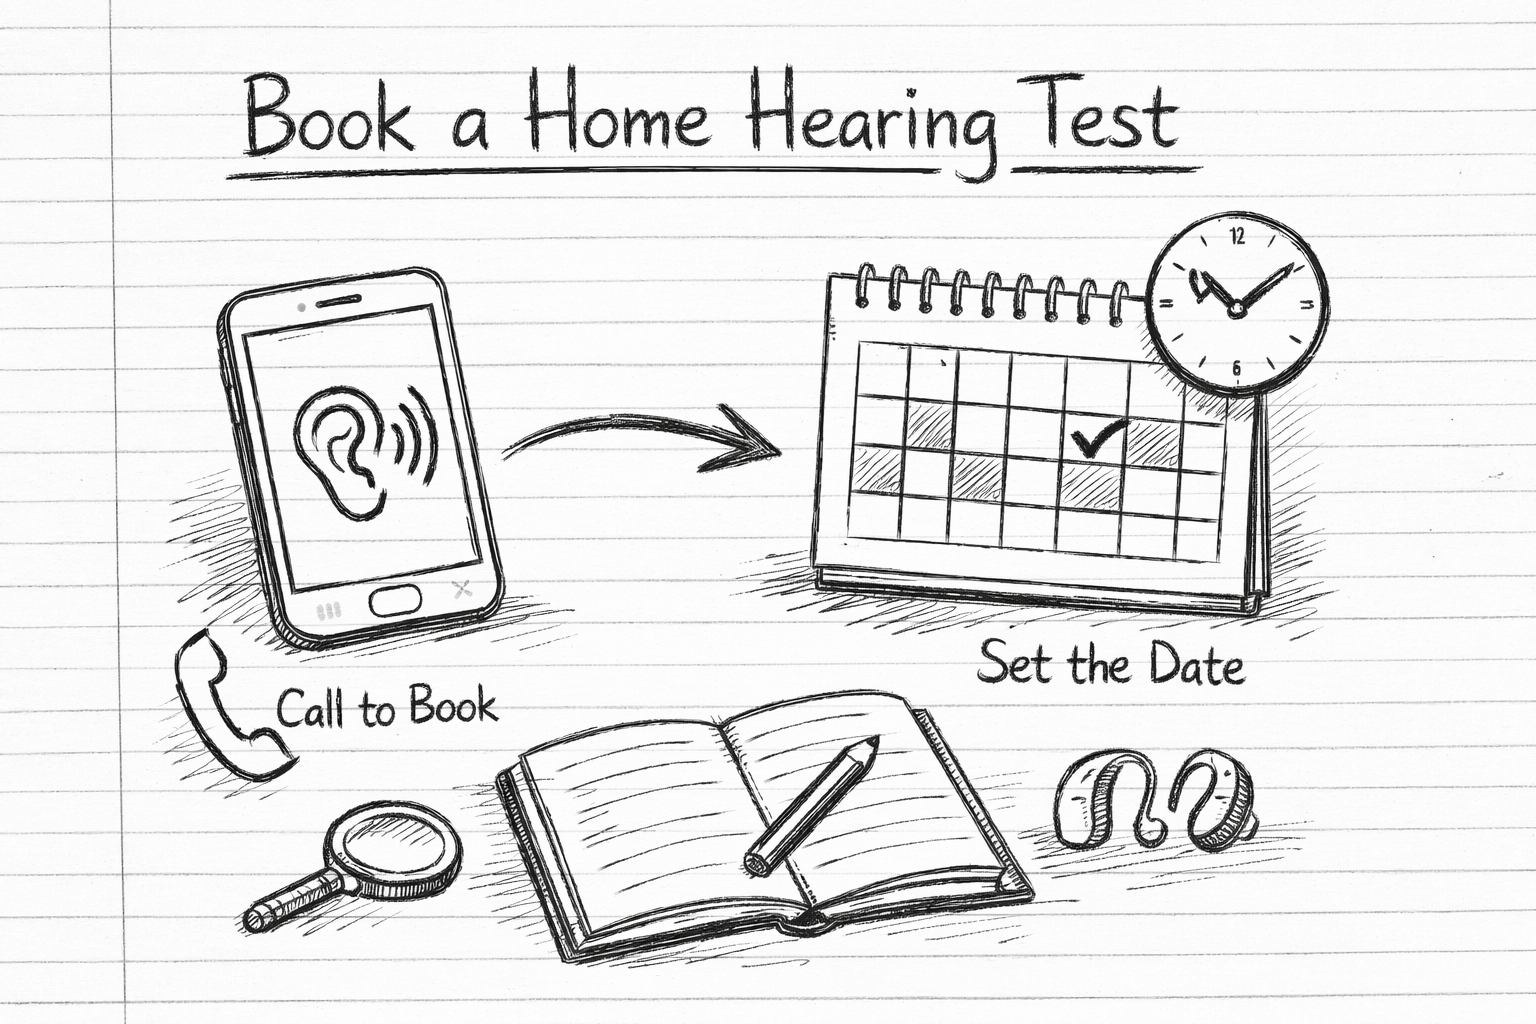
The process begins with booking an appointment at a time that suits you.

During booking, you’ll usually be asked:

  • Your location (to confirm home visit availability)
  • Whether you’ve noticed specific hearing difficulties
  • If you currently use hearing aids
  • Whether mobility, health, or care needs should be considered

This information helps the audiologist prepare properly and allocate enough time for your appointment.

High-intent takeaway:
If you’re searching for “hearing test at home near me”, booking is usually straightforward and flexible  often with daytime and early evening slots.

Step 2: Arrival and Settling In (Why This Matters)

Hand-drawn, notebook-style illustration of an audiologist kneeling in a cozy living room while setting up portable hearing test equipment on a small table. An older woman sits comfortably in an armchair watching with a calm smile, a cat beside her. The scene feels reassuring and gentle, sketched in pencil with soft, muted tones, wide 16:9 composition.

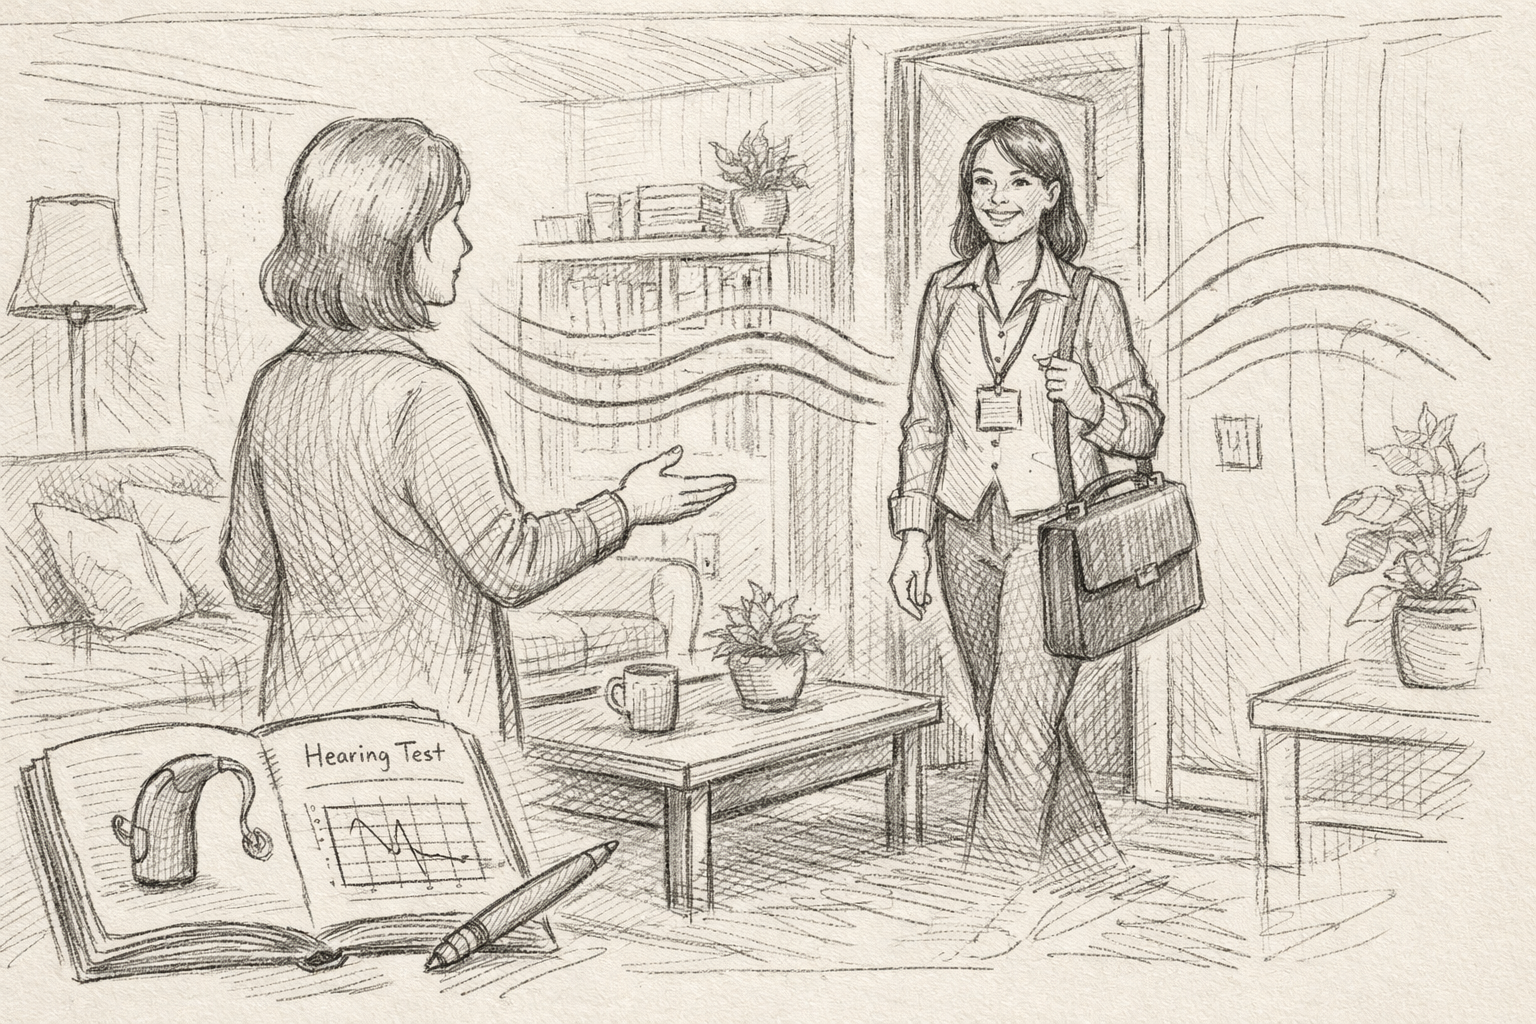
One of the biggest differences between a home visit hearing test and a clinic appointment is how the session begins.

There’s no reception desk, no background noise, and no pressure to move quickly. Instead:

  • The audiologist introduces themselves
  • Equipment is set up calmly
  • You’re encouraged to sit where you feel comfortable

This matters because hearing tests rely on concentration. A relaxed environment improves accuracy and reduces listening fatigue during testing.

For elderly patients or those who feel anxious in medical settings, this step alone makes a significant difference.

Step 3: A Proper Conversation About Your Hearing (Not a Checklist)

Alt text: Hand-sketched black-and-white illustration of a conversational audiology visit in a 16:9 layout. An audiologist sits at a desk, listening attentively and taking notes in a research notebook while a patient gestures and explains hearing concerns. Speech bubbles mention muffled voices and ringing in the ears. Surrounding notes include simple diagrams of an ear, hearing test results, and possible hearing aid solutions.

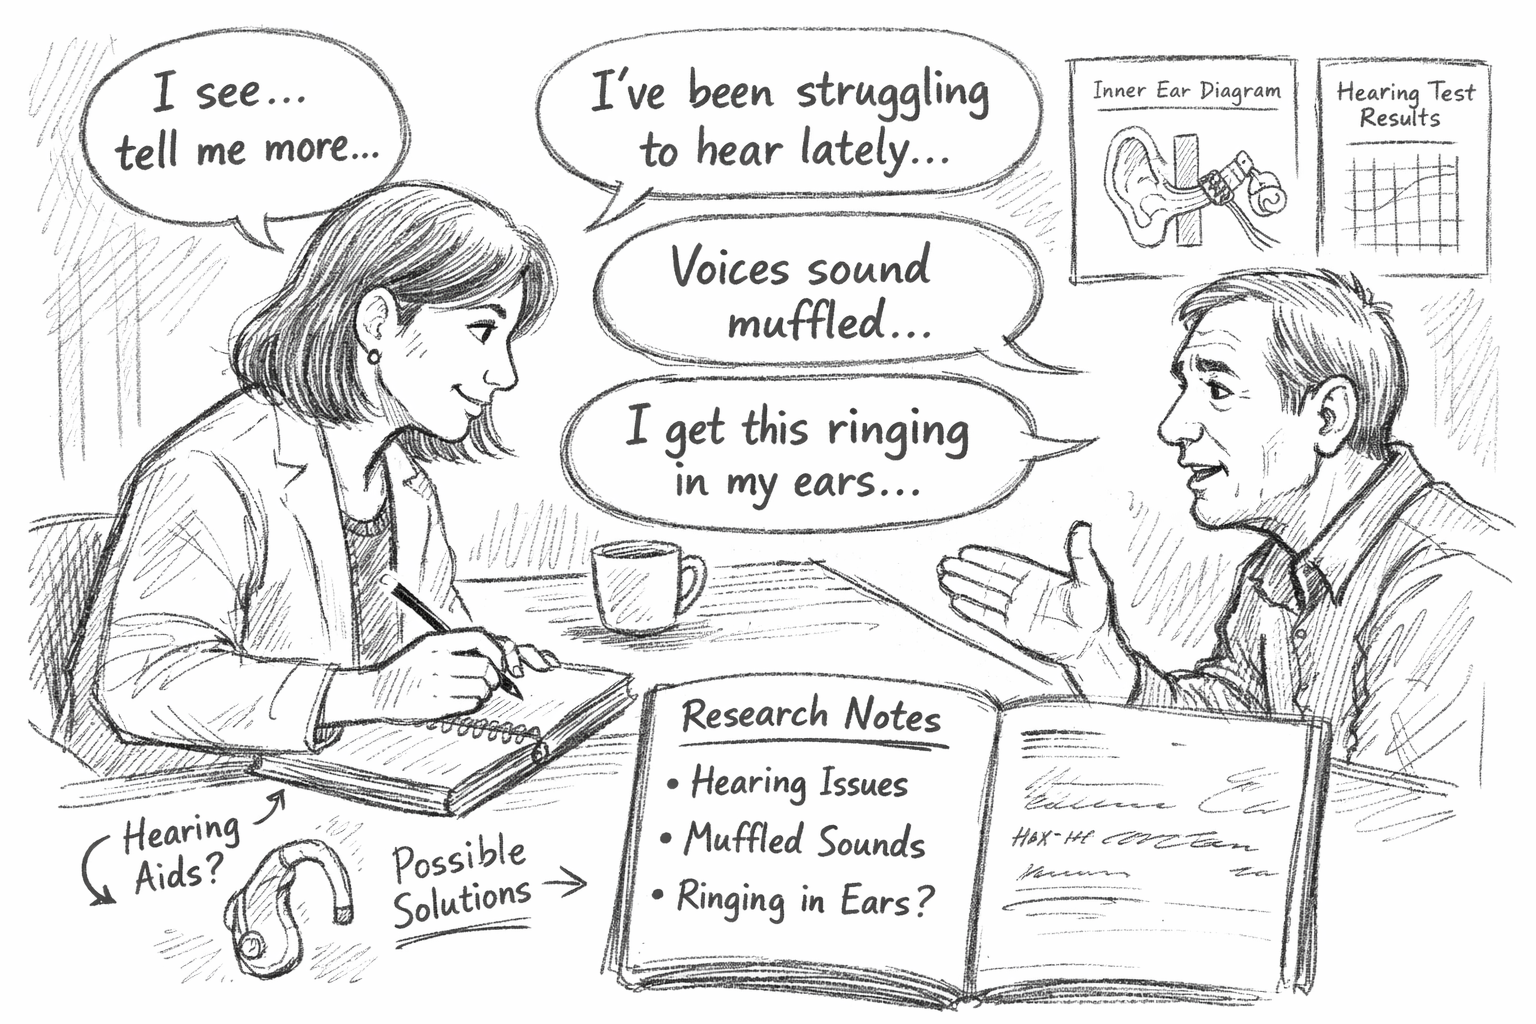
Before any testing begins, the audiologist will talk with you in detail.

This discussion is not generic. It focuses on:

  • Situations where hearing feels difficult
  • Changes you or family members have noticed
  • Social, work, or home environments
  • Any ringing in the ears (tinnitus)
  • Balance concerns or ear discomfort

This step is crucial because hearing tests are most effective when interpreted in real-world context  not just numbers on a chart.

High-intent insight:
If you’re worried a hearing test is “just a machine and a printout,” home visits usually offer far more personalised discussion.

Step 4: Ear Health Examination (Often Overlooked, Very Important)

Hand-drawn, black-and-white educational sketch on lined notebook paper showing an ear examination with an otoscope. Left side: an otoscope inserted into the outer ear, labeled “Otoscope” and “Ear Exam.” Right side: a circular close-up view inside the ear canal, clearly showing the ear canal and eardrum with simple labels. Clean, minimal, medical notebook style, wide 16:9 layout.

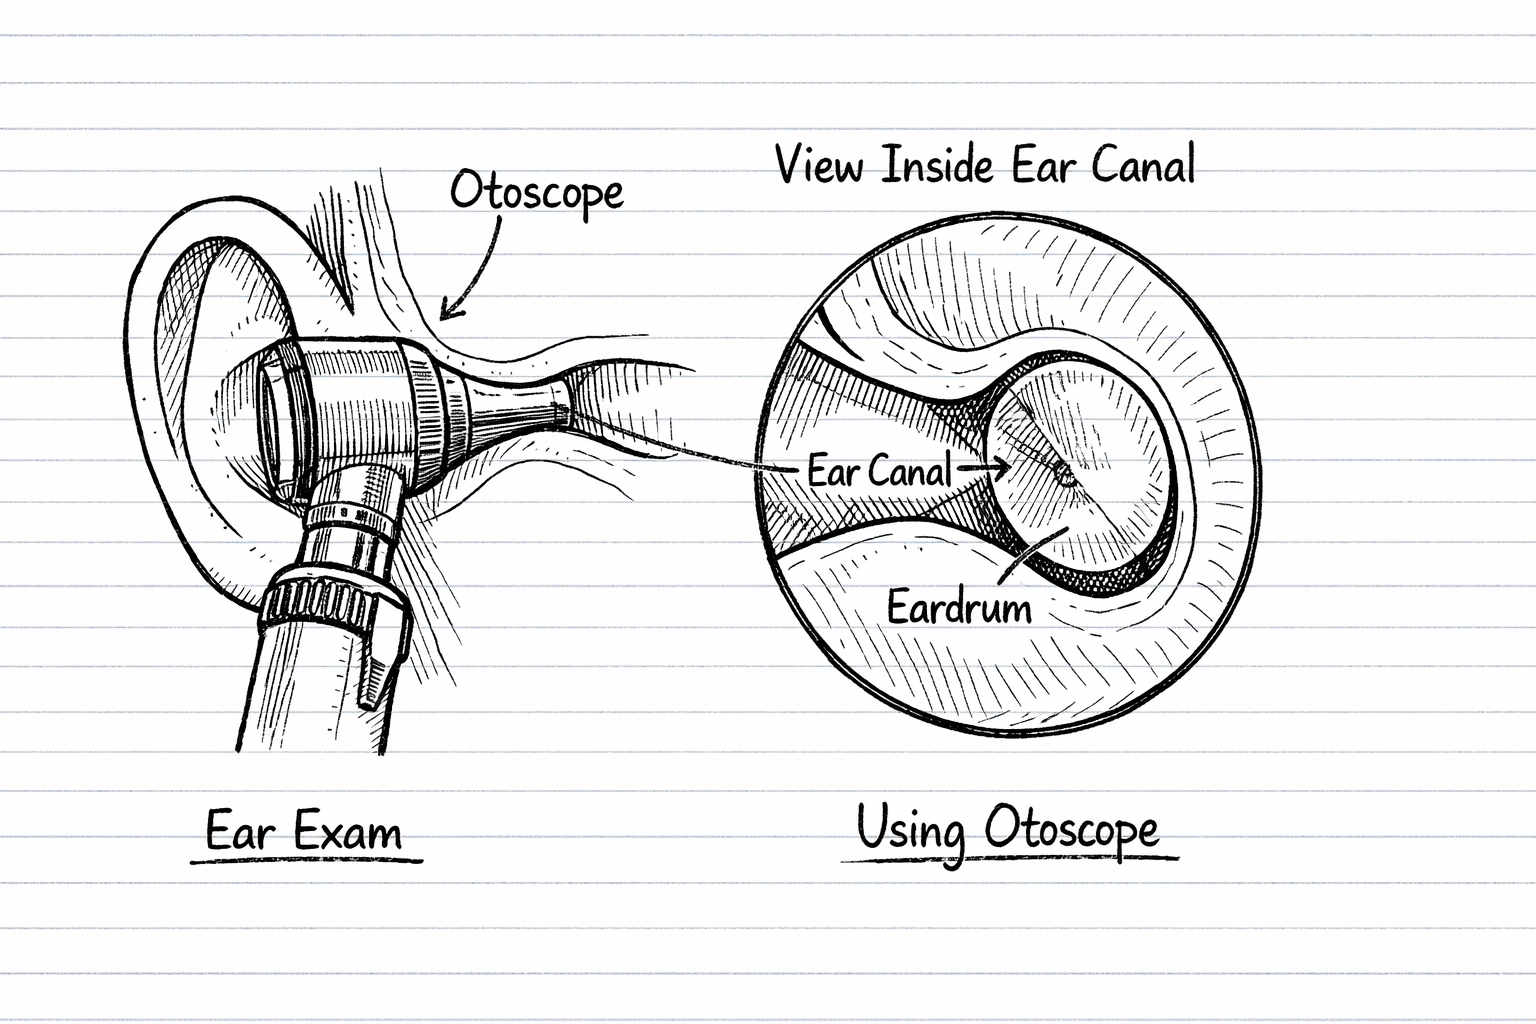
Before measuring hearing, the audiologist checks the physical health of your ears using an otoscope.

This allows them to:

  • Look for earwax build-up
  • Check for inflammation or irritation
  • Ensure the ear canal is clear
  • Decide whether testing can proceed accurately

In many cases, earwax not hearing loss  is the main cause of blocked hearing. Identifying this early prevents misleading test results.

If earwax removal is required, this will be explained clearly, along with next steps.

Step 5: The Hearing Test Itself (What You’ll Actually Do)

Hand-sketched pencil illustration of a hearing test in progress at home: a patient sits calmly wearing over-ear headphones and raises a finger to signal hearing tones, while a hearing care professional adjusts testing equipment at a small table. Soft sound waves float between them in a cozy living room, with a notebook showing an audiogram in the foreground, rendered in a research sketch style with warm, neutral tones.

This is the part people often feel unsure about but it’s simple and painless.

What happens:
  • You’ll wear headphones
  • You’ll hear a series of tones at different pitches
  • You respond when you hear a sound (usually by pressing a button or raising a hand)

The test measures:

  • How quiet sounds can be before you stop hearing them
  • Which frequencies are affected
  • Whether hearing loss is mild, moderate, or more significant

The equipment used in home visit hearing tests is the same standard used in clinics  just portable.

Step 6: Speech Understanding Assessment (The Real-Life Test)

Hand-drawn educational notebook illustration of a speech clarity test, showing a person speaking while sound waves carry simple words in speech bubbles toward an ear; a clipboard on the side marks which words were correctly understood, all sketched in a clean medical-style notebook aesthetic.

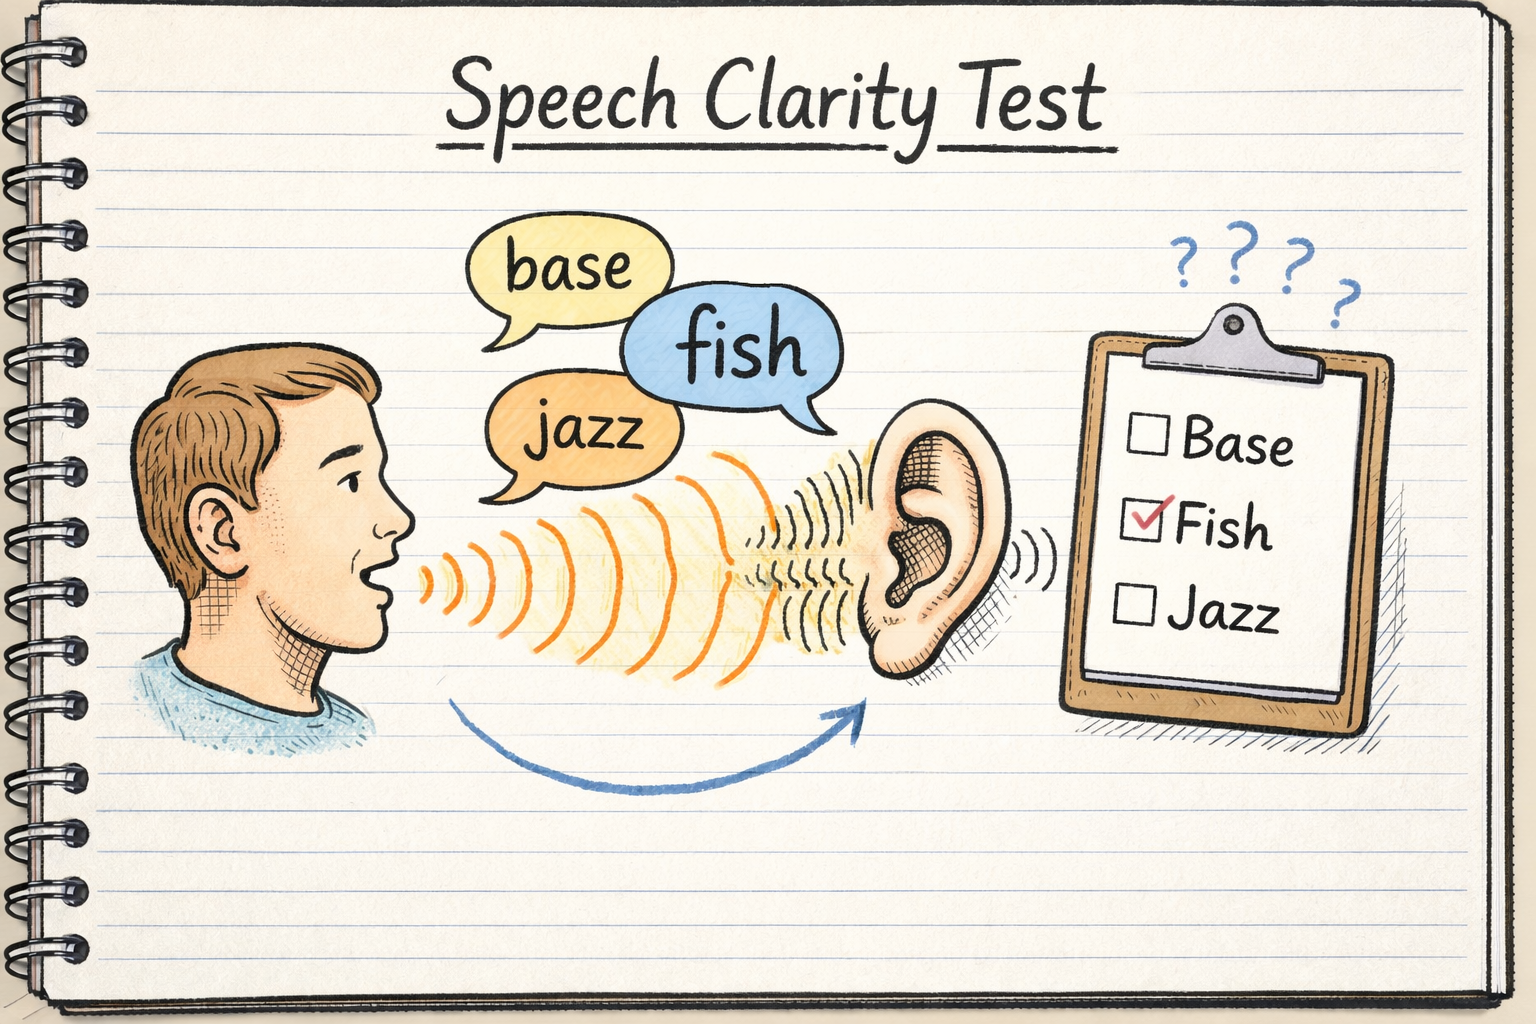
Pure tones only tell part of the story. That’s why many home hearing tests include speech testing.

This assesses:

  • How clearly you understand spoken words
  • Performance in quiet vs more complex listening
  • Why volume alone doesn’t always solve hearing problems

Many people are surprised to learn that they can “hear sounds” but still struggle with clarity  especially in conversations.

This step helps explain why symptoms like:

  • Difficulty in noise
  • Phone call problems
  • TV dialogue issues

are so common.

Step 7: Clear Explanation of Results (No Jargon)

Once testing is complete, the audiologist explains the results in plain language.

You’ll learn:

  • What your hearing levels mean
  • Whether changes are age-related, wax-related, or noise-related
  • Which frequencies are affected
  • How this links to your real-world experiences

You’ll also be told clearly if:

  • Your hearing is within normal range
  • Monitoring is recommended
  • Hearing support may be beneficial

There should be no pressure, no rush, and no obligation.

Step 8: Discussing Next Steps (Only If Needed)

If hearing support is recommended, options are discussed calmly.

This may include:

  • Monitoring and re-testing later
  • Earwax removal
  • Hearing aids (if appropriate)
  • Communication strategies

For people worried about being pushed into hearing aids, this is often the most reassuring part of a home visit hearing test.

High-intent reassurance:
A professional hearing test is about understanding your hearing — not forcing a purchase.

Step 9: Involving Family or Carers (A Home Visit Advantage)

One of the biggest benefits of a hearing test at home is that:

  • A partner can listen
  • A carer can ask questions
  • Family can better understand the results

This often leads to better long-term outcomes, especially for elderly patients.

Step 10: After the Appointment – What Happens Next?

After your home visit hearing test:

  • You’ll know exactly where you stand
  • You’ll receive guidance on next steps
  • You can take time to decide what to do

There’s no obligation to act immediately.

Many people book home hearing tests simply for reassurance  and find relief in finally having clear answers.

Is a Home Visit Hearing Test as Accurate as a Clinic Test?

Yes.

When performed by a qualified audiologist using professional equipment, home hearing tests are just as accurate as clinic tests.

The difference is not quality  it’s comfort, convenience, and time.

Who Should Book a Home Visit Hearing Test?

Home hearing tests are ideal for:

  • Adults over 50
  • Elderly patients
  • Hearing aid users
  • People with mobility difficulties
  • Those experiencing anxiety in clinics
  • Anyone searching “hearing test near me” but preferring home care

How Long Does a Home Hearing Test Take?

Most appointments last:

  • 45–60 minutes

This includes:

  • Discussion
  • Ear examination
  • Testing
  • Results explanation

How Often Should You Have a Hearing Test?

General guidance:

  • Every 2–3 years under 60
  • Every 1–2 years over 60
  • Sooner if symptoms appear

Common Reasons People Delay Booking (And Why They Shouldn’t)

People often delay because:

  • Hearing loss feels gradual
  • They fear hearing aids
  • Clinics feel stressful
  • They don’t want to “waste time”

A home visit removes many of these barriers.

Frequently Asked Questions

Is the test painful?
No - it’s completely painless.

Do I need special equipment at home?
No - everything is provided.

Can testing be done in care homes?
Yes.

What if my hearing is normal?
You’ll have reassurance and a baseline for the future.

Final Checklist: Is a Home Hearing Test Right for You?

✔ You struggle in conversations
✔ The TV volume keeps rising
✔ Family notice changes
✔ You feel listening fatigue
✔ You want convenience and comfort

Conclusion: Why Understanding the Process Matters

Knowing how a home visit hearing test works removes uncertainty and uncertainty is often what stops people booking.

A home hearing test is:

  • Professional
  • Accurate
  • Calm
  • Personal
  • Convenient

If you’ve noticed changes in your hearing, booking a home visit hearing test is a simple, reassuring step towards clarity and confidence.

Complete Hearing Care Near You
We provide professional earwax removal, accurate hearing tests, and expert hearing aid services all in one place. Our experienced team is here to help you hear clearly, comfortably, and with confidence.
Read about our privacy policy.
Thank you! Your submission has been received!
Oops! Something went wrong while submitting the form.

Struggling with Your Hearing? We're Here to Help.

Struggling with your hearing? We offer safe, professional earwax removal across the Midlands — with home visits in Leamington Spa, Nottingham, Leicester, Dudley, Peterborough, Corby, Coventry, and Nuneaton.

A English young man point at book an appointment